Posts

Showing posts with the label Maya Toolkit 1

Maya Tutorials Year 1 and Reflective Statement

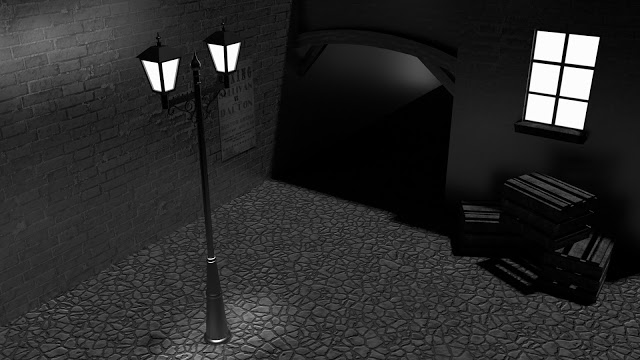
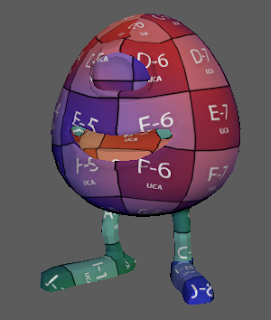
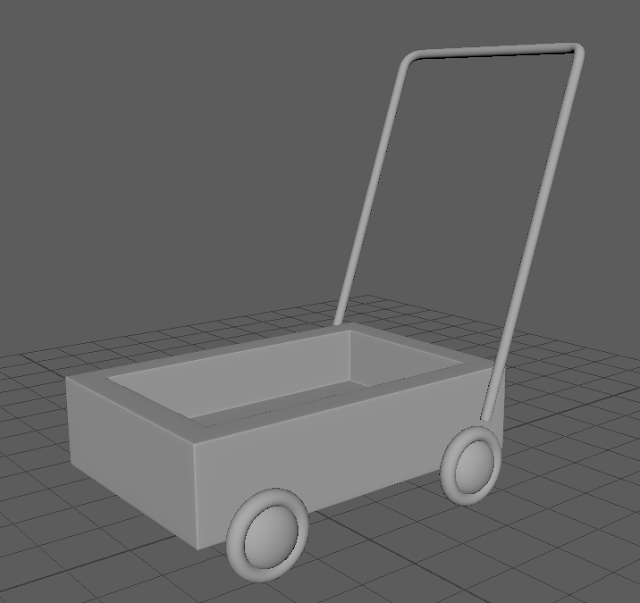
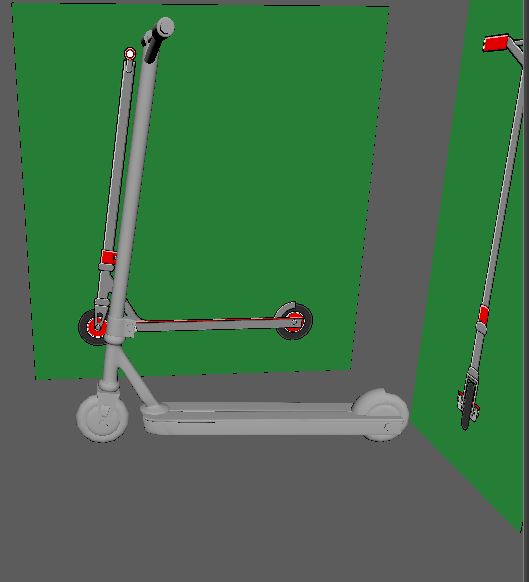
Egg Cups http://eleanorl-caa.blogspot.co.uk/2017/09/maya-egg-cups-tutorial.html Ray Gun http://eleanorl-caa.blogspot.co.uk/2017/10/ray-gun-block-model-maya-tutorial-2.html Scooter http://eleanorl-caa.blogspot.co.uk/2017/10/scooter-model.html Digital Alley http://eleanorl-caa.blogspot.co.uk/2017/10/digital-sets-alley-part-1.html http://eleanorl-caa.blogspot.co.uk/2018/05/alley-digital-set-finished.html Common Shaders http://eleanorl-caa.blogspot.co.uk/2017/11/common-shaders-maya-tutorial.html Basic animation (car, rocket, chain etc.) http://eleanorl-caa.blogspot.co.uk/2018/01/maya-lectures-basic-animation.html Felix Jnr walk cycle http://eleanorl-caa.blogspot.co.uk/2018/02/3d-animation-walk-cycle.html Pose to pose animation - Pirouette http://eleanorl-caa.blogspot.co.uk/2018/02/3d-pirouette-animation.html Squash and Stretch http://eleanorl-caa.blogspot.co.uk/2018/03/toadstool-squash-and-stretch-animation.html Anticipation and Follow Through http://eleanorl-c...

Alley Digital set finished

Image

Cartoon House lighting

Image

Parallax scene

Image

Organic modelling Alien

Image

Rig Set up

Image

Lighting the Robot - Sampling tutorial

Image
Lighting this model was complex because of the complexity of the textures and scenes itself.

Kart Maya Tutorial

Image
This was one of the first tutorials we ever did, but I forgot to upload it. Oops!

Animated cube

Image
This was animated creating an animated After Effects texture put as a surface shader onto a Maya cube.

Maya lights tutorial

Image
These are our renders from trying different types of light in Maya. Area Light Area light, no spread Arnold area light Cylinder area Directional light Disk area Point light Spotlight

Anticipation and follow through (3D)

Image

Toadstool squash and stretch animation

Image

3D pirouette animation

Image
Today we used a pre-made 3D rig to animate with. I really enjoyed this and decided to make him pirouette.  

3D animation walk cycle

Today in our Maya class we were doing animated walk cycles using a very cute robot called Felix Jnr. This is actually a lot easier than I expected and I really enjoyed doing the animation. 

Maya Lectures - basic animation

Image

Common shaders - Maya tutorial

Image
This week's Maya tutorial online was to complete the common shaders on this cute little robot!  This was what a basic lambert shader looked like on him. Doesn't he look sad! This is the ceramic version. This is a brown Lambert.  The next one was plastic. This is created using a Blinn and then changing the eccentricity, specular roll off and reflectivity. We then created a silver texture for him. This is also a Blinn, but with a higher reflectivity. The actual colour of the texture is black, its the reflectivity that gives it its silver colour. This is the gold version for him; again a Blinn but this time the base colour was very dark brown with a yellow highlight. And the same method again for chrome, just this time with a blueish colour scheme. This is the glass version. This one is a little more complicated as you have to put the colour to black, turn up the opacity to max, allow refraction and then put in the right refraction index for glass....

Digital sets Alley Part 1

Image
So this week we began our first digital set, an old alley. This has yet to be textured, so the images are a little rough and difficult to understand in places, but here is where we are so far. This is the current state of the main digital set, the basics of the Old Alley This is how the lamp currently looks. And this is the beginning of a crate. Its only got basics at the moment to make it easier when it comes to UV mapping and texturing. Watch this space for a fully completed digital set coming soon!

Scooter model

Image
Our most recent project in Maya is modelling a scooter. We are yet to texture the model, but this is it in its basic form. I've had a number of issues building this model, ending up with weird shapes and odd corners. I don't really know where I went wrong, but I got there in the end.

Ray Gun Block Model - Maya tutorial 2

Image
I found this tutorial a little more challenging to follow than the egg cups, however I am ultimately very please with my Ray Gun. I decided to change the colours to make it more me, but here you go. And here is the final render image.

Maya Egg Cups Tutorial

Image
So today I completed the first Maya tutorial after finally getting my laptop to accept Maya (that's another long story). Anyway, I actually found the tutorial a lot easier than expected. There were a few bits that I had to go back over as I slightly missed the steps, however I'm overall very happy with how I did. The egg cups aren't perfect, but I don't think they're bad for a first try. Here are my first attempts at proper Maya modelling techniques. Another Maya tutorial to come before the week is out!